I love DIY travel hacks because, 1) they are usually clever as hell, 2) they often repurpose otherwise disposable items, and 3) they save money!
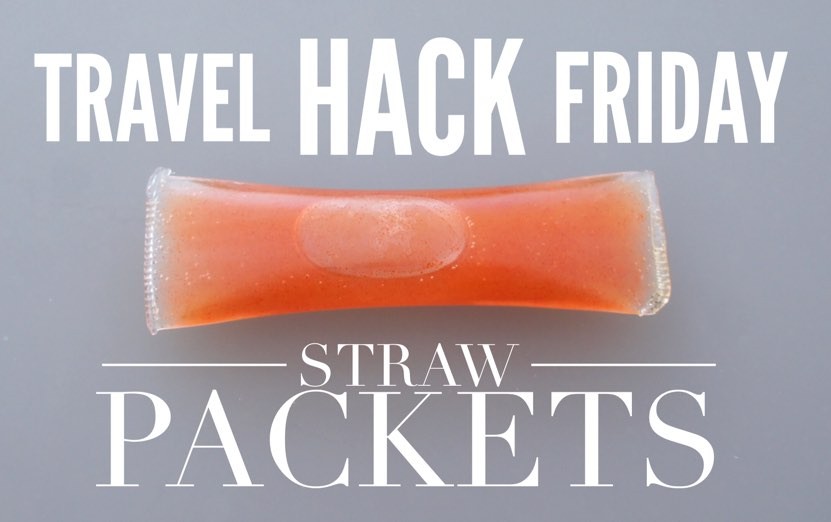
So imagine my surprise when I discovered you could make your own travel size containers using nothing more than straws! Great for ointment, toiletries, spices, and even Tabasco. The first thing you’re probably thinking is, “very cool, but what’s the point? Wouldn’t it be easier to just carry the whole bottle, or better yet, just buy travel sizes of everything?” Sure, but personally, I rarely use up an entire bottle, and ultimately end up toting around the same tube of Neosporin for months. Travel size is also an option, but that costs money, and more importantly you wouldn’t be able to put your awesome MacGyver skills to the test.
I’m not going to lie, there are times where you may need 42 fluid ounces of SPF 100, but baring those eventualities, travel size ointments, or even condiments should be sufficient. And, if you do end up bringing full bottles of everything, your pack weight will be unbearable!
This hack is perfect for the lightweight backpacker and the budget conscious. It’s just one more tool at your disposal, and one more strategy to lighten that load!
DIY Travel Size Containers:
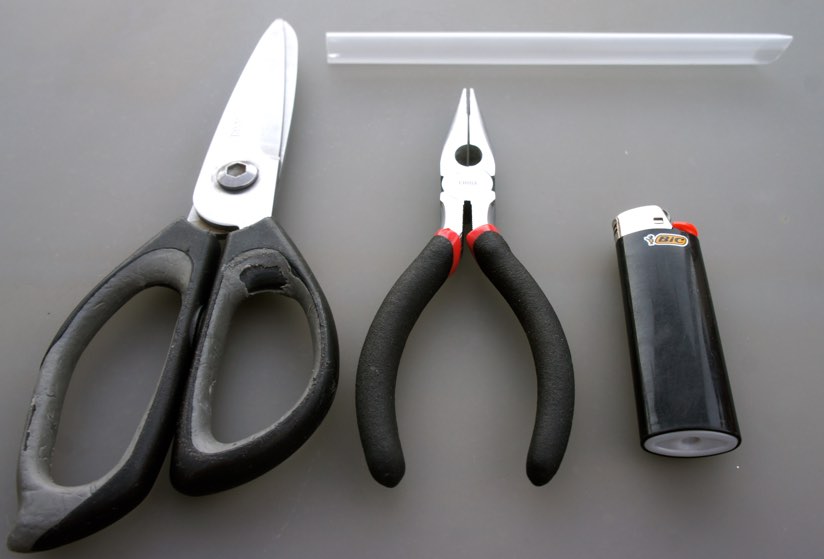
Materials/Equipment
- Straws (any size works. Use a larger straw for more volume)
- Needle nose Pliers
- Scissors
- Lighter
I’m not familiar with all the straw sizes available, but I could imagine there are some novelty sizes that could hold significantly more volume. Basically, anything of a polypropylene plastic that melts and cools quickly can be used. Straws are a good choice only because they’re inexpensive and available just about anywhere you go. Getting too fancy might shoot up the cost and defeat the overall purpose of the hack. Your choice.
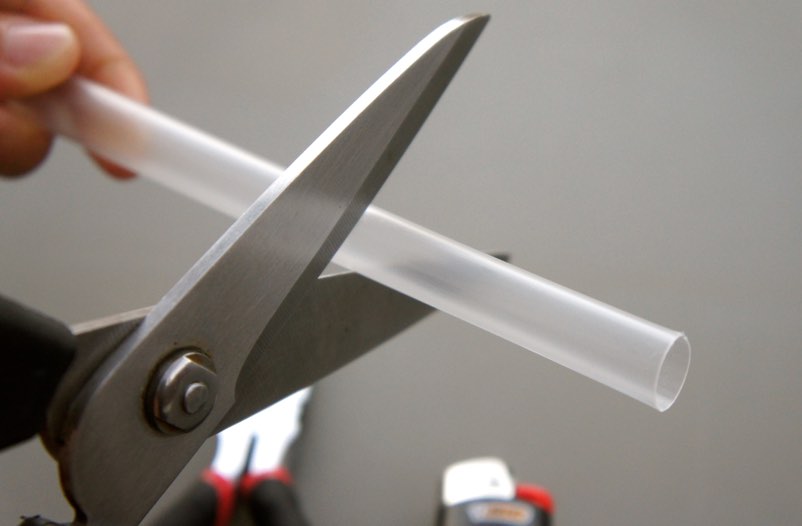
1. Cut the straw to the desired size
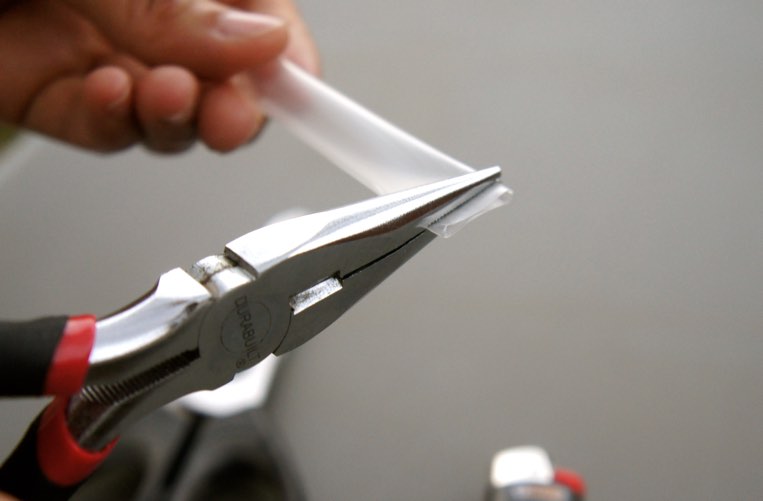
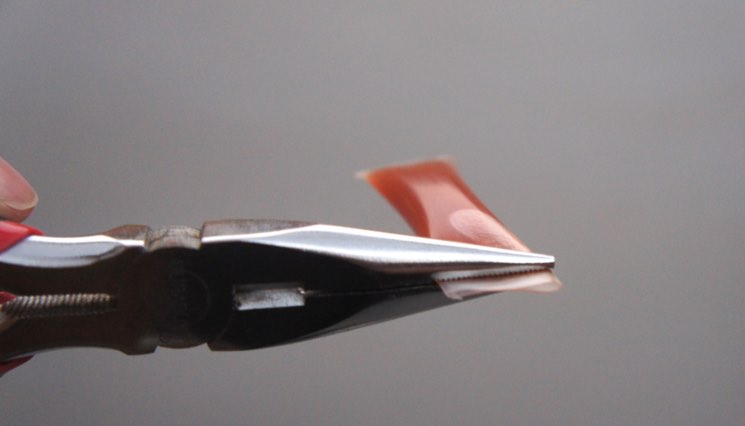
2. Take the pliers and squeeze near the end of the straw. Leave part of the end exposed
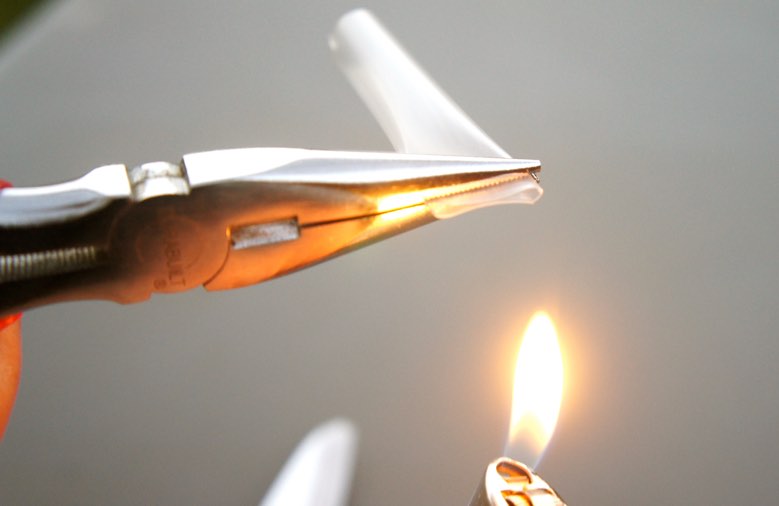
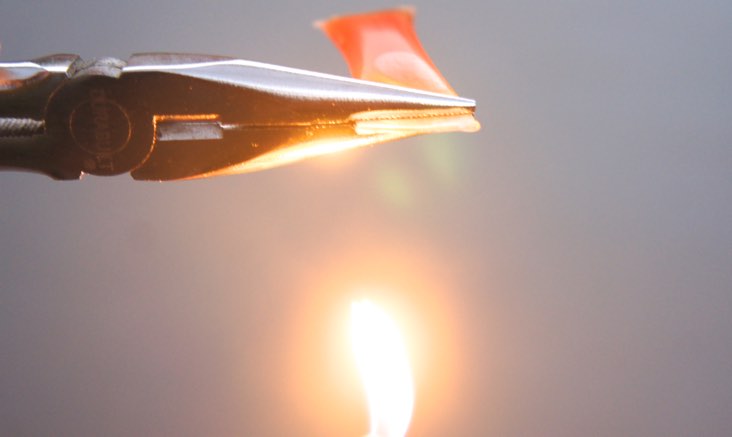
3. Take the lighter, and run the flame a few times across the exposed end
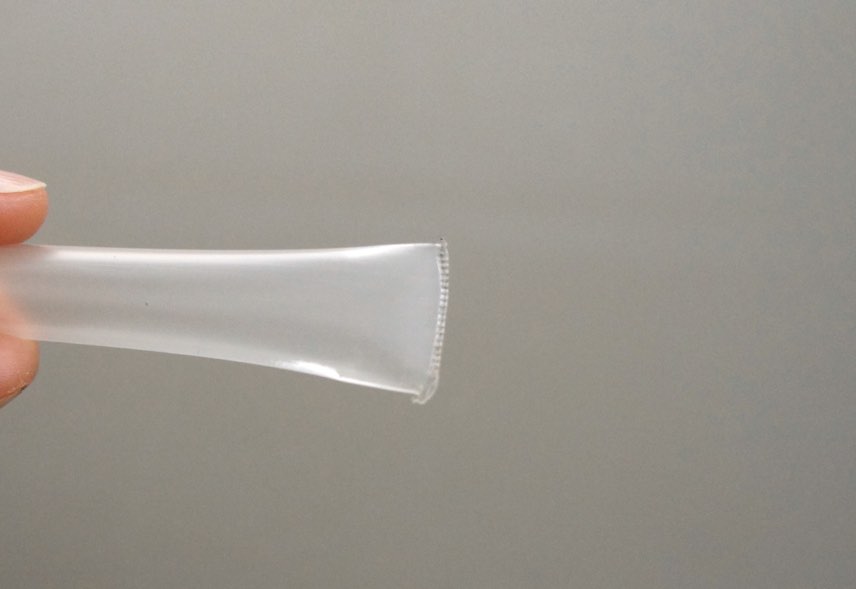
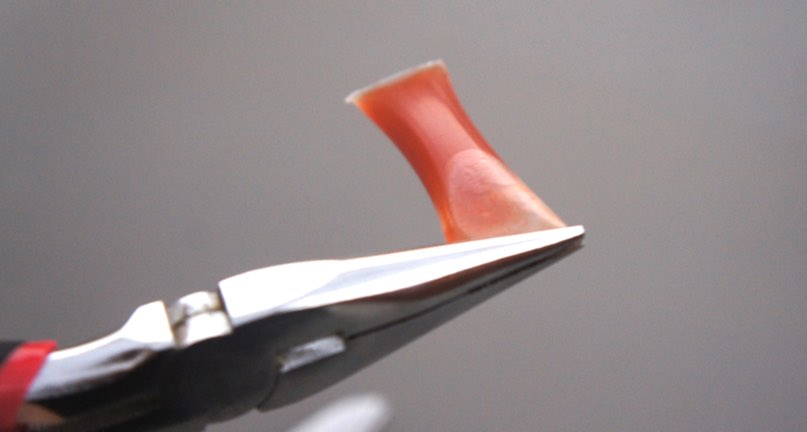
4. Hold the straw, loosen the pliers and squeeze the section you just ran the flame over. Hold for about 10 seconds

5. If you ran the lighter flame over the straw end enough times, it should have melted enough for it to stick together
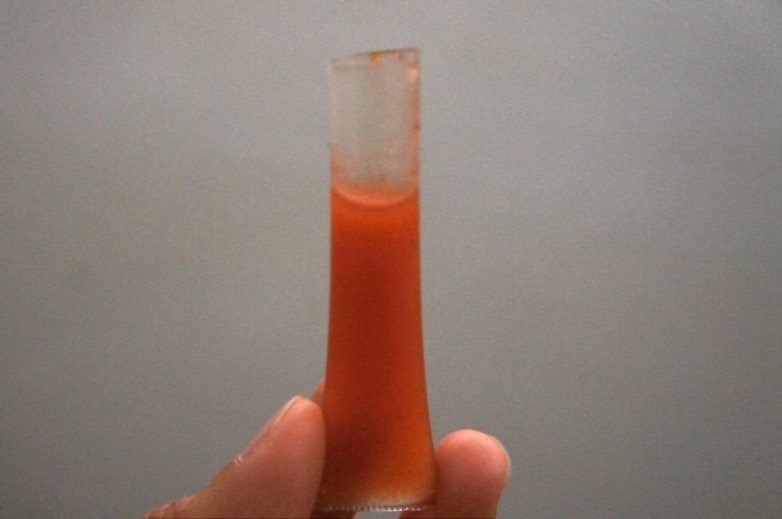
6. Fill the straw only about ¾ of the way with whatever ointment, spice or liquid you want, to avoid spillage.
7. Squeeze the open end with the pliers as before, leaving part of the end exposed
8. Take the lighter again, and run the flame a few times across the exposed end
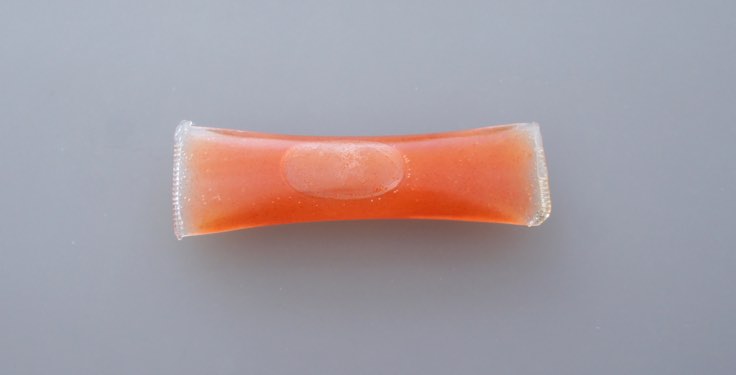
9. Hold the straw, loosen the pliers and squeeze the section you just ran the flame over. Hold for about 10 seconds.
Congratulations! You just made your own travel size containers.
If you ever need to reseal, just take a lighter and run it over the open edges again and clamp shut by sandwiching between two keys, or anything that can act like pliers.


Carey
Latest posts by Carey (see all)
- Travel Hack Friday: #DIY Orange Peel Oil Candle #travelhacks - October 16, 2015
- Hanoi Vietnam, The Photoscape! #Hanoi #Vietnam #Southeastasia - October 5, 2015
- Travel Hack Friday: How to Find Edible Bugs - October 2, 2015